Posts

Showing posts from March, 2022

Day 9: Fender Bender

Image
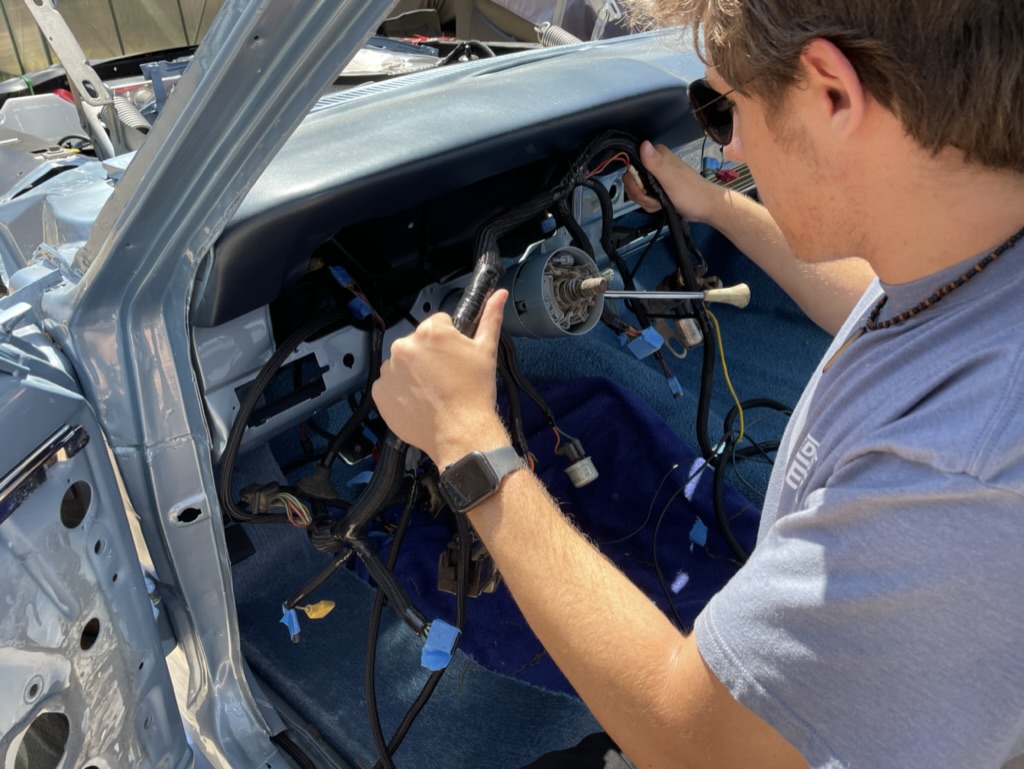
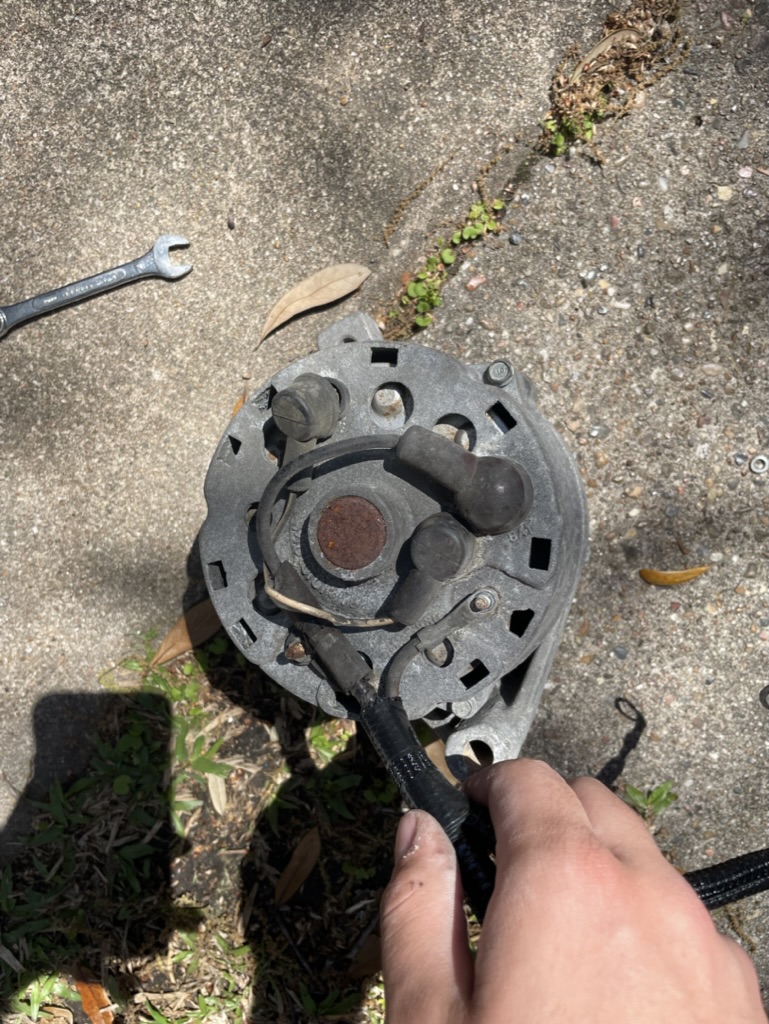
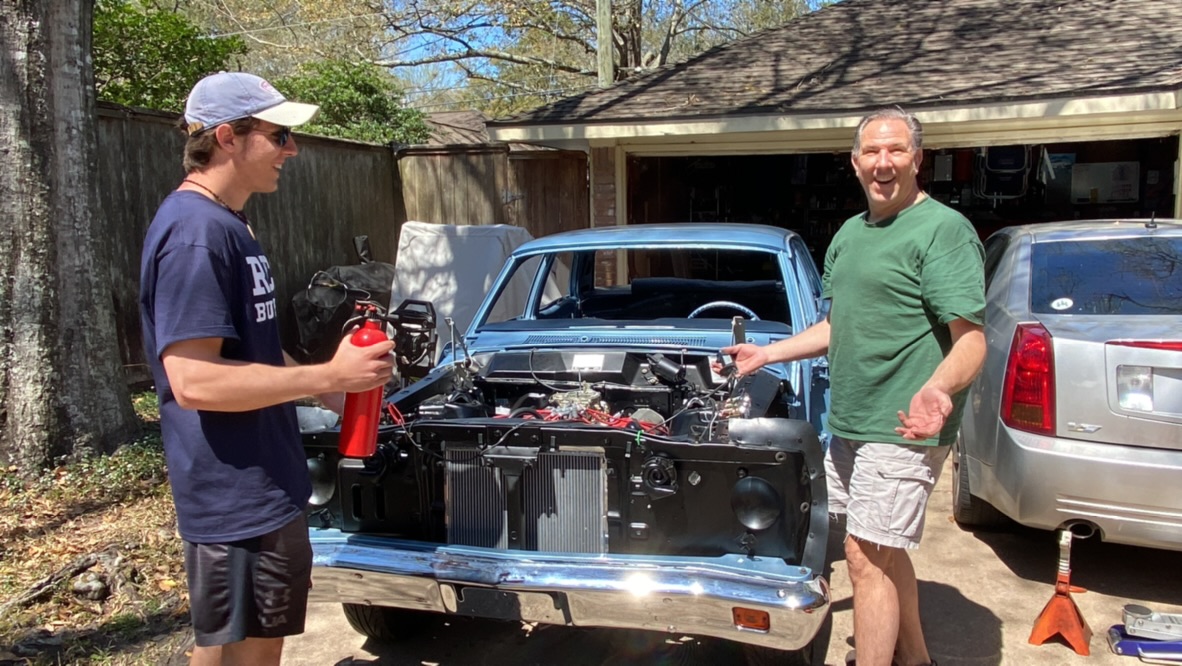
Day 9 Luke Kirchner Fender Bender Don't worry.... we actually didn't bang up a fender... but we did put them on! We woke up bright and early this morning, excited to work on starting and finishing all four doors. Almost immediately we noticed that our felt ordered from a catalog was not enough and that the glass would rub on the sides. After a couple of frantic phone calls to get those parts ordered, we decided to just put the doors on hold and work on the front of the car.   Looking like a hot rod! First, however, we had to start with the hood. The tough part about putting on the hood was not the weight, but the sheer size. Luckily, there were alignment holes that we could use so we knew the correct position for the hood. With the help of my mom, my dad and I bolted down the hood. We noticed that it looked slightly off-center, but we were going to wait to see how the gaps were when the fenders were put on. Now we can finally keep the engine bay clean from all the pollen! Splas

Day 7: Don't do Rugs!

Image
Day 7 Luke Kirchner Don't do Rugs! Don't worry... I meant to say rugs. Today we installed the carpet inside the car! Although there has been carpet sitting in the car for a while, it was not strapped down or trimmed, so that was first on the agenda for today. We started by trimming down the major excess on the edges before we went back in to do the fine cutting that would go under the trim and side kick-boards. Fortunately, this process was very easy. With that in mind, cutting each piece of carpet was tedious because if you cut off too much, there is no going back! Carpet cut to mold around the pillars One visually pleasing step was to install the door wind-draft stopper - the strip of plastic that stops the wind from coming in the closed door. I wrapped all 4 frames with these straps, which actually required quite a bit of effort to fully seat. In fact, this entire day was very aesthetically pleasing because we finally get to see the interior come together. The next few days

Day 5: With a Little Help From My Friends

Image
Day 5 Luke Kirchner With a Little Help From My Friends I woke up today to see the man, the myth, the legend....the destroyer..... Joel! My cousin Joel came over today to help work on finishing the gauge wiring and to try and start the engine once again. As usual, things got whacky real fast.  Our first task was to finish wiring the engine bay with our harness. Weaving through pillars and small holes, we managed to connect every little piece - from the horns to the headlights to the alternator. Everything was now attached to something! This meant we could focus our attention back on the gauge cluster to see what we needed to work on. Putting on the final screws, we could hardly hold our excitement to finally turn that key and start this car with everything wired up. I actually almost saw a smile slip from Joel's face. It was getting serious.  Once we made sure all the connectors were attached and all the screws were in, we decided to try and crank the engine to get fuel to the carbu

Day 4: Wire 'em Up

Image
 Day 4 Luke Kirchner Wire 'em Up Thankfully my dad returned! Now it was time to make some serious progress. We were going to focus on running the harness from the trunk to the dash. Connecting the harness to the taillights and trunk light was easy, but fitting through the small hole into the cabin was a little challenging. We had to run the wires through a canal at the bottom of the floor panel to hide them but also to reach the dash. It was time to face my fear of that main wiring harness.  Here we go We started by roughly laying out the main harness to connect with all the pieces on the steering column. Although it may seem like it just fits in nicely, it is very cramped and hard to adjust the orientation of the entire harness. 

Day 3: What am I doing?!

Image
Day 3 Luke Kirchner What am I doing?! My dad knows a lot about cars. I don't know a ton about building one from scratch. That's why I proposed this A-term! But this morning I woke up with a checklist of things to do on my own while my dad was in San Antonio for a one-day work trip. Not the first time he has overestimated my abilities... The first step was to attach the new alternator to the wiring harness adapter. While this seemed like it would be an easy process, these nuts were rusted on so bad that it took hours to break the seal. On top of that, the nuts were a size in between standard wrench sizes, so I had to do some outside-of-the-box thinking to get them off.  Before After Next up was for me to take the wiring harness and route it into the car. Yes, you heard that right... the entire wiring harness. Throughout the entire car...... please come back from San Antonio, dad. The harness was still broken up into three pieces, so I started with the trunk harness. I laid out t

Day 2: Pump the Brakes!

Image
Day 2 Luke Kirchner Pump the Breaks! Day 2 started out by putting the finishing touches on the wiring harness and wrapping the last of the electrical tape. Luckily that only lasted a few minutes and we went outside to start working on the car.  Testing if there is space for the brakes with the carpet in We rolled out the falcon into the driveway to get more space because we were going to install the brake pedals today! The two main assemblies for the brakes include the standard brake that attaches to lines that go to all four tires and the parking brake. Although I do like accelerating more than braking, they are quite important, so we decided to do them first.  As you may know, we are working on a '67 Ford Falcon. Unfortunately, that is not quite the most collectible or documented car from that era, so it can be challenging to know where each little piece goes, especially because it was all stripped from the car before the metalwork was done. That's where the "parts car&q

Day 1.......?

Image
Day 1 Luke Kirchner Day 1........? Alright, here we are! The first day of my A-Term, "Finishing the Falcon". In reality, though, we have been doing intensive work over spring break for the last 5 or so days. Let me tell you, in those 5 days we have done more than we have managed to do in the last 8 years.  The moment the engine came to life! For starters, we got the engine running! Now we knew the engine ran well after it was built and put on a dyno, but this was the first time it had ever run in the finished chassis of the car. The engine is a ford 289 block that has been turned into a 347 stroker and let me tell you.... it's loud. Within minutes the homeowners association was already protesting in our front driveway. But who cares? It sounds heavenly! Today (Monday), we decided to turn down the loudness and crank the voltage. It was time to work on the wiring harness. This is essentially the series of wires that goes from the battery, all the way to the taillights, and